Thursday, December 24, 2015

Christmas Greetings!


 Christmas greetings from our 
Craft Fantastic family to yours.
We hope your holidays are filled
 with love and merriment! 


Tuesday, December 15, 2015

A Candy Inspired Bracelet!

2015 is quickly coming to a close, but there is time for one more blog project before we usher in the New Year. I wanted something fun and festive to wear for the holidays and immediately visions of candy canes and peppermint popped into my head. Go figure that I would immediately turn to candy as my inspiration. Good thing I wasn't inspired by a glazed ham! LOL!

I dug deep into my bag of crafty tricks and pulled out one of my favorite tools. Yes, you guessed it. Some day I hope someone will ask me what medium I prefer to work in just so I can reply with "Nail Polish"!  

Let's get started...

What You'll Need


Assorted Nail Polish - I used bright red, white, and a couple of silvery metallics polishes, plus a top coat.

Pencils with Erasers

Flat Topped Tac Pins 

Water Cup

Heavy Coffee Mug

Pin


Gather your supplies. Oops! I forgot the bracelet in this photo.


Press the flat topped tack pins into the eraser tops on the pencils, then stack 2 Jeweler's Dots on top. Press the flat side of a small glass square on top of the Jeweler's Dot. The 2 dots will be strong enough to keep the glass piece in place and act as a "dipper". Need more info regarding this "dipper" technique? Check out my blog post here. Next, paint the top of the glass with 3 coats of the white polish. Set the dipper in the mug and let it dry.

Fill the designated water cup with water, then drip several drops of the red polish into it followed by the metallic polishes. Drag the pin lightly through the polish to create a bit of a swirl pattern. Don't mix it too much. The polish forms a skin on top of the water and you don't want to risk dragging the skin completely off the top of the water with the pin.

Drag one of the dippers with a painted glass square on it through the nail polish. When you lift it out of the water, you'll see a beautiful marbled design on it. The best part about this process is that each time you dip one of the glass pieces in the polish you will get different results.


Set your completed masterpieces in the mug and let them dry.


Finish the glass pieces with a shiny top coat. I like to use a quick dry formula.


I placed a Jeweler's Dot in each tray of my bracelet and then topped each tray with one of my candy inspired glass pieces. 


I LOVE how this turned out! Each square is different and gives the bracelet a unique appearance from each angle. 


Here it is from a different view.


This was certainly fun and very quick! The longest part of this process was the drying times between the coats of polish. I would say that all in all, this bracelet took me 3 hours to complete, drying time included. Give this one a try and whip up something festive for yourself or a friend! They will love it! 

Sign up to follow this blog by email and you'll have the latest and greatest Craft Fantastic info dropped right into your Inbox! Also, check us out on Facebook for giveaways, product sneak peeks, and project inspiration! 

See you next time!

Wednesday, December 9, 2015

6 Last Minute Christmas Projects!

It's 5:00pm on December 23rd and you hear an unexpected knock on your door. Who could it be? A quick peak through the peephole reveals it's Aunt Beatrice with her rosy cheeks, dimpled grin and one of her famous fruitcakes in tow.  Oh, no! Aunt Beatrice wasn't on your shopping list! You don't even have a Christmas card for her! What to do???!!! The panic starts to build, but then you remember. You have handmade Craft Fantastic jewelry pieces already made and packaged for giving. Phew! You regain your composure, open the door and give Aunt Beatrice a big hug and a warm smile. Crisis averted.

Don't you love a story that turns out well in the end? Me, too! Here are six quick and easy last minute Craft Fantastic projects you can whip up in no time. Keep them on hand to share with unexpected guests, forgotten Christmas List recipients, and that fabulous party hostess who throws the swankiest soirées. You never dreamed you'd score an invite to her Holiday Extravaganza, but you did. Congratulations.

These are so easy and only one of these projects requires a jump ring. The rest are as basic as applying an image to a glass cab, affixing it to a tray and then adding a finding of your choice to transform it into a ring, key chain, bracelet, pendant or earrings. These are sure to please and put a  grateful smile on the lucky recipient's face.

Go forth and be a crafty hero. Happy Holidays!


Six pretty pieces ready to make someone happy.


Craft Fantastic Keychain w/ Clip


Craft Fantastic Leatherette Bracelet


Craft Fantastic Mini Round Rope Ring

Thursday, November 19, 2015

Tiered Butterfly Necklace!

Not so much a tutorial today as a project idea and recipe. Are you needing something a little different for someone special this holiday season? I have just the gift idea for you! A tiered butterfly necklace featuring some of the latest and greatest Craft Fantastic items added to our product line.

This 3-tiered necklace showcases a simple medium oval tray on the first strand, offset by a string of sweet petite flower connectors on the second strand, with a series of beautiful delicate butterfly charms rounding out the trio on the third strand.

This project took me about an hour to complete and there was lots of adjusting lengths and so forth, but I am really please with the results and would be happy (and proud) to give this as a gift.

Let's get started...

What You'll Need 

Craft Fantastic 30" Rolo Chains (3)

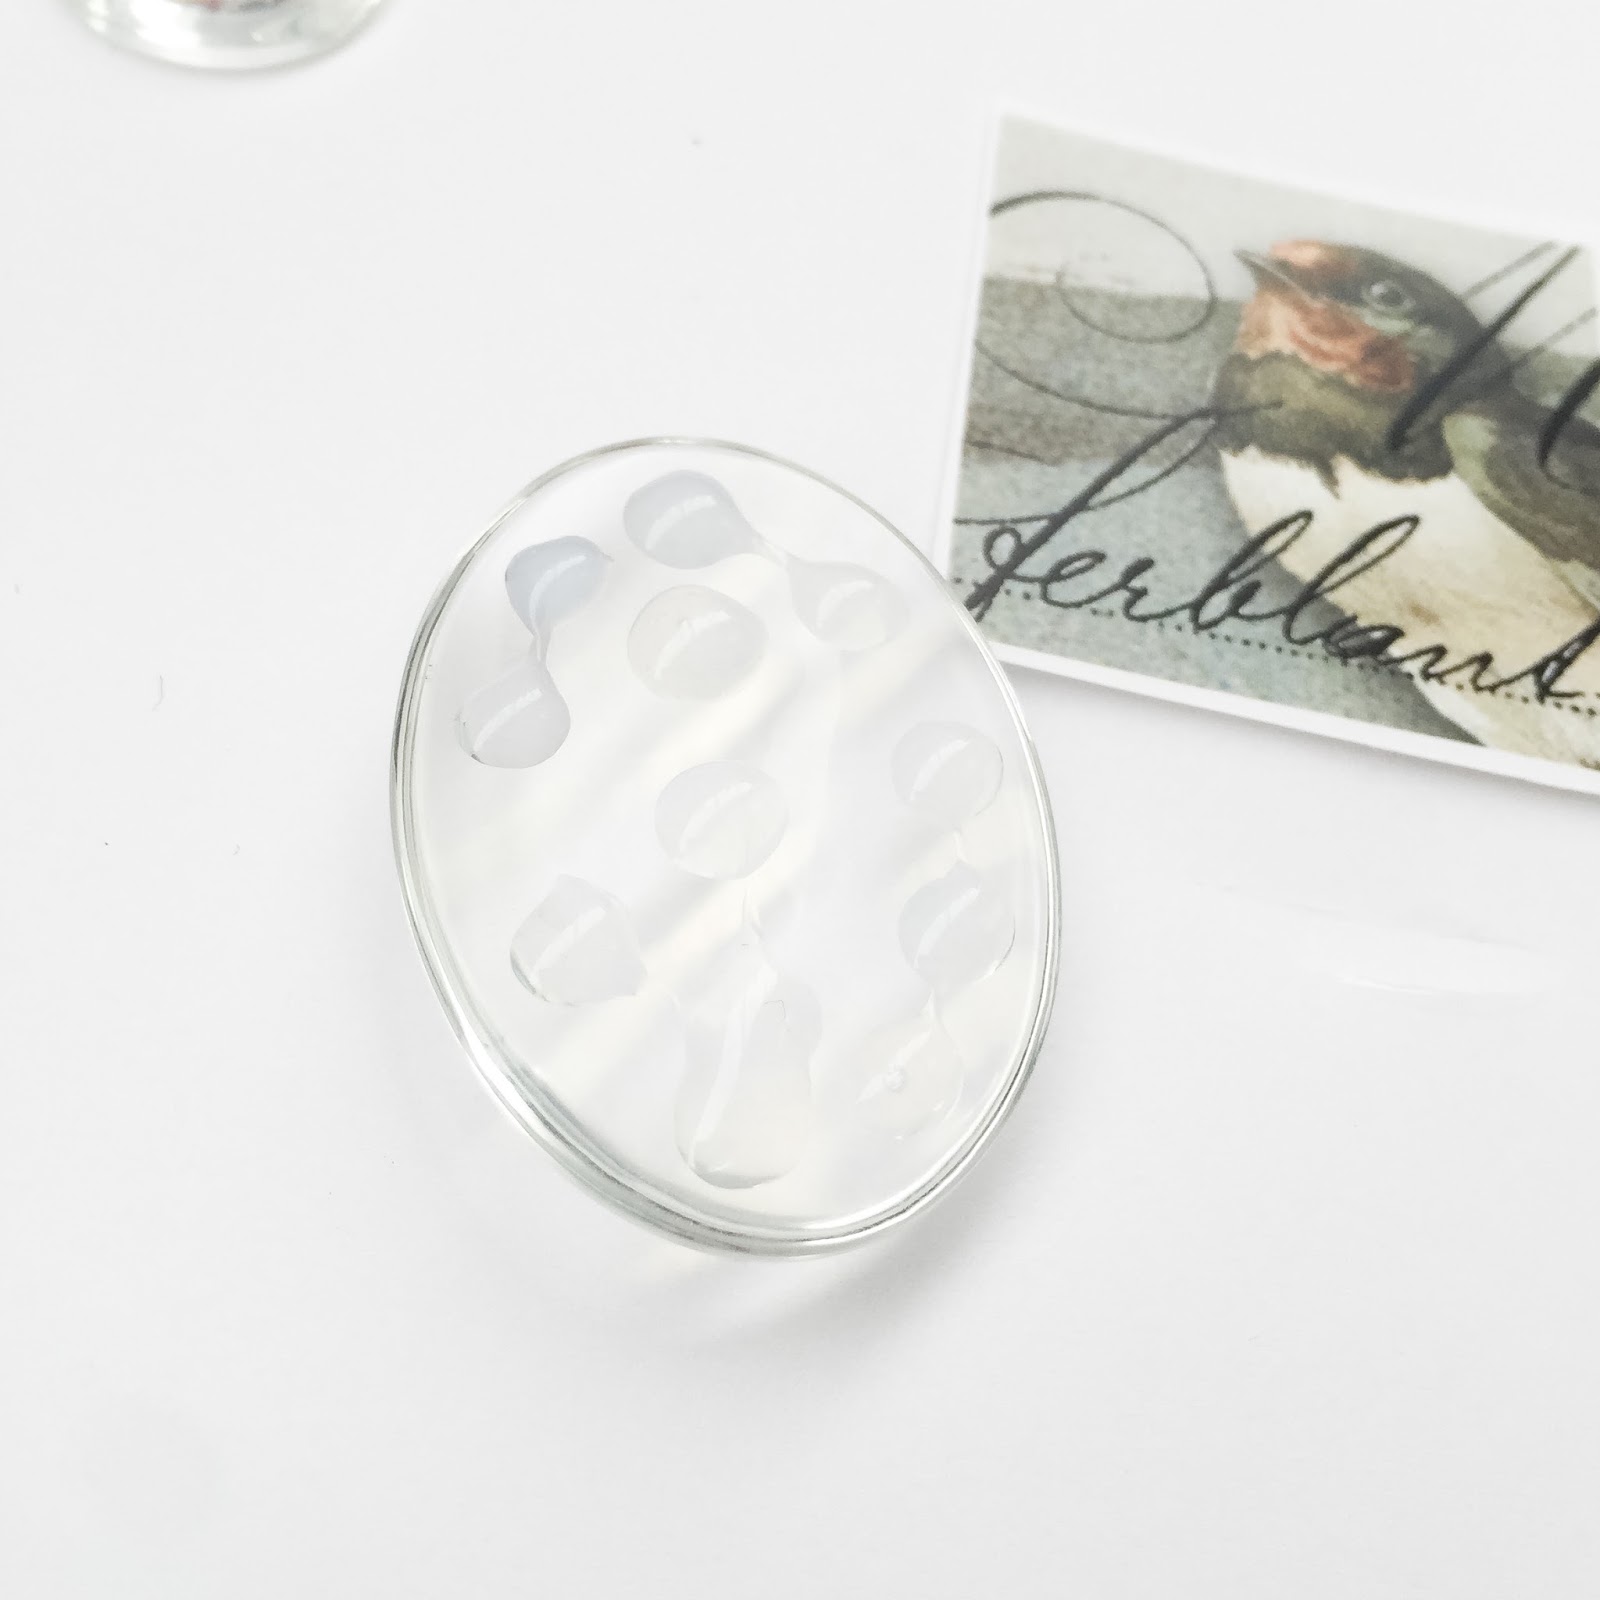
Craft Fantastic Medium Oval Tray

Craft Fantastic Medium Oval Glass

Craft Fantastic Flower Connectors (7)

Craft Fantastic Butterfly Charms (5)

Craft Fantastic Large Jump Rings (2)

Craft Fantastic Small Jump Rings - You'll need LOTS of these.

Craft Fantastic Lobster Clasp

Fantastic Glaze & Glue

Fantastic Jeweler's Dot

Pliers

Scissors

Cotton Swabs


Here's a look at my 3-tiered butterfly necklace. It's graceful and elegant; a lovely accessory the recipient would be proud to wear.


Here's a closer look. Lots of details on this one! I am head over heels in love with those Flower Connectors!


This project requires more supplies and time than some of my past blog projects, but if you need something special, this one fits the bill.


I started by selecting an image to correspond with my butterfly charms. 


Then I removed all of the lobster clasps and jump rings from the three rolo necklaces. I cut the first rolo down to 17" to allow for the addition of the 2 large and 2 small jump rings. I used the large jump rings to have adequate room to attach smaller jump rings for each of the 3 strands. I made sure to string my pendant tray on the strand before adding the larger jump rings. Here's my recipe for the first strand...

Lobster Clasp
Small Jump Ring
Large Jump Ring
Small Jump Ring
17" piece of Rolo Chain (with tray strung)
Small Jump Ring
Large Jump Ring 


Next, I cut my second rolo into pieces carefully measuring them out with a ruler. To be more accurate, I recommend counting the links. I had to fiddle with this strand to get the length I wanted and to make it clear the Medium Oval Tray from the first strand. I might do this piece again with a smaller tray. Here's my recipe for the second strand... 

Small Jump Ring 
4 3/4" piece of Rolo Chain
Small Jump Ring
Flower Connector
Small Jump Ring
1 1/8" piece of Rolo Chain
Small Jump Ring
Flower Connector
Small Jump Ring
1 1/8" piece of Rolo Chain
Small Jump Ring
Flower Connector
Small Jump Ring
1 1/8" piece of Rolo Chain
Small Jump Ring
Flower Connector 
Small Jump Ring
1 1/8"piece of Rolo Chain
Small Jump Ring
Flower Connector 
Small Jump Ring
1 1/8"piece of Rolo Chain
Small Jump Ring
Flower Connector
Small Jump Ring
1 1/8"piece of Rolo Chain
Small Jump Ring
Flower Connector 
Small Jump Ring
4 3/4" piece of Rolo Chain
Small Jump Ring 


Remember that the small jump rings from each strand will need to be attached to the two main jump rings for the closure and clasp.


To make the third and final strand, I cut a 24" length of rolo chain, attached small jump rings to each end and then affixed each of my butterfly charms along the bottom also using small jump rings.  Here's the recipe for the third strand...

Small Jump Ring
24" piece of rolo chain
Small Jump Ring
Add Butterfly Charms with Small Jump Rings


The finished piece! Imagine how many tiered necklaces you can create using Craft Fantastic elements. The possibilities are endless! I'm already thinking about my next piece. How about you?

Give this project a try and be sure to share pics on our Craft Fantastic Facebook Page! Also, be sure to follow this blog by email so you never miss a post! I share something new every week, so it's worth checking out. See you next week! 

Wednesday, November 11, 2015

Back to the Basics: Applying an Image to a Glass Cabochon


It's back to the basics this week on the blog. Today I'll show you step by step how to apply our Art Images to the back of a glass cabochon and then turn that simple cab into a pendant. I know many of you have been using Craft Fantastic products for a long time, so this post will just be a refresher for you. We have, however, lots of new folks who have joined the Craft Fantastic family as of late, so I thought it would be great to have a basic tutorial for this process as a reference on the blog.

Our entire line of products centers around our crystal clear glass cabs. They exquisitely showcase family photos, art, decorative papers, ephemera, collage elements, and of course, our Craft Fantastic Art Images. Once a photo or an image has been applied to the glass, they become the heart of the jewelry pieces created with them turning them into wearable pieces of art or portable memories.   

Let's get started...

What You'll Need

Assorted Craft Fantastic Glass Cabochons - We carry them in an array of shapes and sizes, from big and bold to sweet and petite. 


Assorted Craft Fantastic Art Images - Interested in using a scanned photo instead? Visit this link where I answer all of your questions about printing your photos at home.


Cotton Swabs

Scissors 


Today I'm making six pendants, which should take me about 30 minutes total. At the end of this process I will have six completed projects that will make wonderful stocking stuffers, hostess gifts, or impromptu presents for that person I may have inadvertently forgot to add to my Christmas list. Don't laugh, it happens to me every year. 


I'll start with my Large Glass Oval. 


Working on the flat side of the glass, I apply several dollops of the Fantastic Glaze & Glue. This is one of our largest pieces of glass so I make sure to add a couple of dollops to the middle and then all around the edges. Too much glue can be wiped away, but too little glue is really hard to fix once the glass is applied to the image.  


I lay the glass oval glue side down on top of my image and press it firmly to force any air bubbles out to the sides. Glue should ooze slightly outside of the edges. I try not to move the glass too much after I lay it on my image. I hold it in place until I feel it sort of "grab" the paper. This only takes a minute. 


Once I'm confident that the glass is firmly in place, I use a cotton swab to wipe away the excess glue from around the edges. 


I've glued all of my glass pieces in place. I wasn't paying attention and the small round glass cab on top of the "v" drifted off to the side, so I had to re-make that one. Oops. Don't tell ;)


Next, I trim away all of the excess paper from my glass pieces by cutting right up next to the edge with my scissors. These are just inexpensive scissors that that I'm not emotionally attached to as they are going to get a bit gunky after awhile and will eventually end up in the trash. So keep those expensive fabric scissors tucked away and hide your fancy paper scissors, because you will not need them for this process. 


I place Fantastic Glue Dots into the trays using one dot for medium and smaller trays and two dots for larger trays. I place the dot into the tray, remove the red backing to expose the adhesive and press the glass piece firmly into it to form a strong bond between the tray and the glass. If I apply the glue dot to the back of the glass and then press it into the tray, I won't create that bond and eventually my glass piece will fall out. No mi gusto.


Here are my six trays finished and ready for chain to finish them off. The pendant bail means that I can just slip a chain through the loop and they're ready to wear. No need to add a separate jump ring or pinch bail. How easy is that?


Here are my completed pendants ready to give or to wear. 


Thursday, November 5, 2015

New Product Sneak Peek AND a Giveaway!

No tutorial this week, but never fear, I'm not going to neglect the kind folks that visit our blog each week. Instead of a tutorial I'm sharing an exclusive peak at some new items we're adding to the Craft Fantastic Shop!

Anne has carefully curated three new vintage style trays that you are going to absolutely fall in love with! These trays are beautiful on their own or stunning when coordinated with other Craft Fantastic elements. Pair them with your cherished family photos or fill them with lovely collaged images from our Art Image Sheet collection.

These trays will be available in the Craft Fantastic shop in the next two weeks, but leave me a comment on this blog post for an opportunity to win a sweet little prize pack featuring these new items and lots of other goodies! Tell me how you would use these new trays and on November 16th I'll randomly select a winner! Sign up to follow this blog via email and I'll throw your name in the hat again, doubling your chances of winning!

Come on! Let's see those comments!


 Pocket Watch Tray - fits small round glass, available in Antique Silver and Antique Brass 


Clock Tray - fits medium round glass, available in Antique Silver and Antique Brass


Heart Key Tray - fits small round glass, available in Antique Silver and Antique Brass


Tuesday, November 3, 2015

Customer Spotlight, Alaina Kathryn!

Crafty Friend, Alaina Kathryn shared this picture with us on Facebook and now I am sharing it with you! She has turned her inner elf loose to create these special pieces for the holidays and they have filled us with cheer!  

Her gorgeous projects feature brightly colored holiday papers and festive images adorned with a bit of clear glitter polish for sparkle. Everything you want in your holiday jewelry!


Share your Craft Fantastic project photos with me by emailing me at DearCrafty@CraftFantastic.com and I might share your crafty pic on our blog or the Craft Fantastic Facebook Page. 

Wednesday, October 28, 2015

Easy Lobster Clasp Bracelet!

I love quick projects that result in something unusual and today's tutorial does just that. Several months ago, Craft Fantastic elite team member, Debbie, sent me some photos of samples that she created for her booth. One of the photos included a bracelet that she had configured from a medium square link tray, chain, lobster clasps and jump rings. I stored this neat little bracelet idea in the back of my brain knowing that I would one day use it on the blog. And today is that day.

Let's get started...


 What You'll Need 

Craft Fantastic Medium Square Link Trays - Round link trays will work, as well.


Craft Fantastic Rolo Chain - Rolo works the best as it consists of links that can easily be cut.


Scissors


As with all my tutorials, there are not a lot of supplies required to complete this project. Just some basic Craft Fantastic products, a couple of pairs of pliers and a pair of scissors is all that's needed to begin.


I started by making my glass pieces. I decided to create 4 bracelets, 2 in each finish, so I made 4 glass pieces. Next I took a Rolo Chain and cut it using scissors. I removed the existing lobster clasp as it was a different size from the clasps I decided to use. You'll notice in these pictures I started with 2 pieces of chain, but in the finished bracelets I actually used 3 pieces of chain. I found this to be better balanced when worn on the wrist.

I attached the 3 pieces of chain to a lobster clasp using a small jump ring. Next, I attached a small jump ring to each link on the medium square link tray, then attached a large jump ring to each side, as well. 


I cut the other end of the chain to create a bracelet approximately 7 1/2" long including the clasps. You can cut it shorter or longer as necessary. I attached a lobster clasp to the end using a small jump ring.


Here they are finished and ready to wear!


I completed 2 in antique brass and 2 in silver. 


Here's a closer look. This one features an image from our Butterflies Art Image Sheet.


How about a Parisian theme? This image is from our Paris Art Image Sheet.


A bit of floral loveliness from our Porcelain Art Image Sheet.


And finally a beautiful rose from our Old Mexico Art Image Sheet.

These were certainly easy to create and I love that they started out as supplies more suited to making a necklace. Try this one at home and send me pictures of your creations. We love to see what our Crafty Friends are working on.

Follow this blog by email and never miss a post! Like our Facebook page and be the first to see new product peeks, tutorials, and giveaways! See you next week!